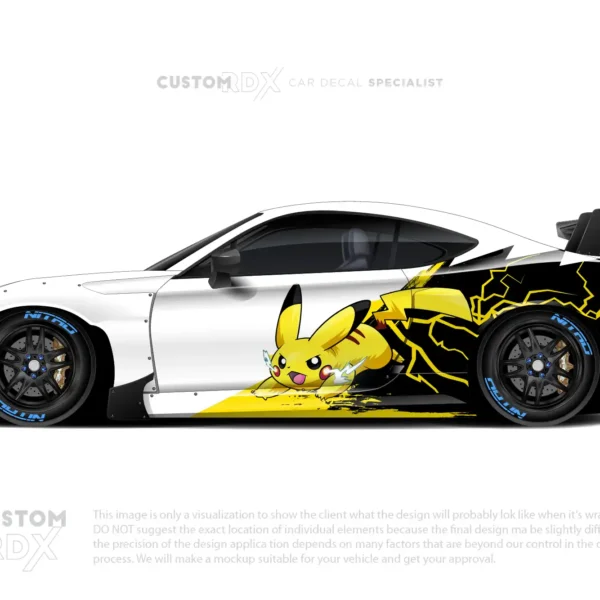
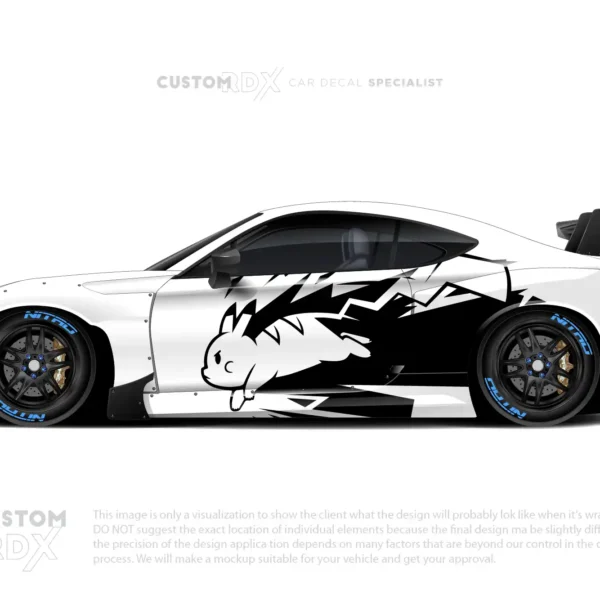
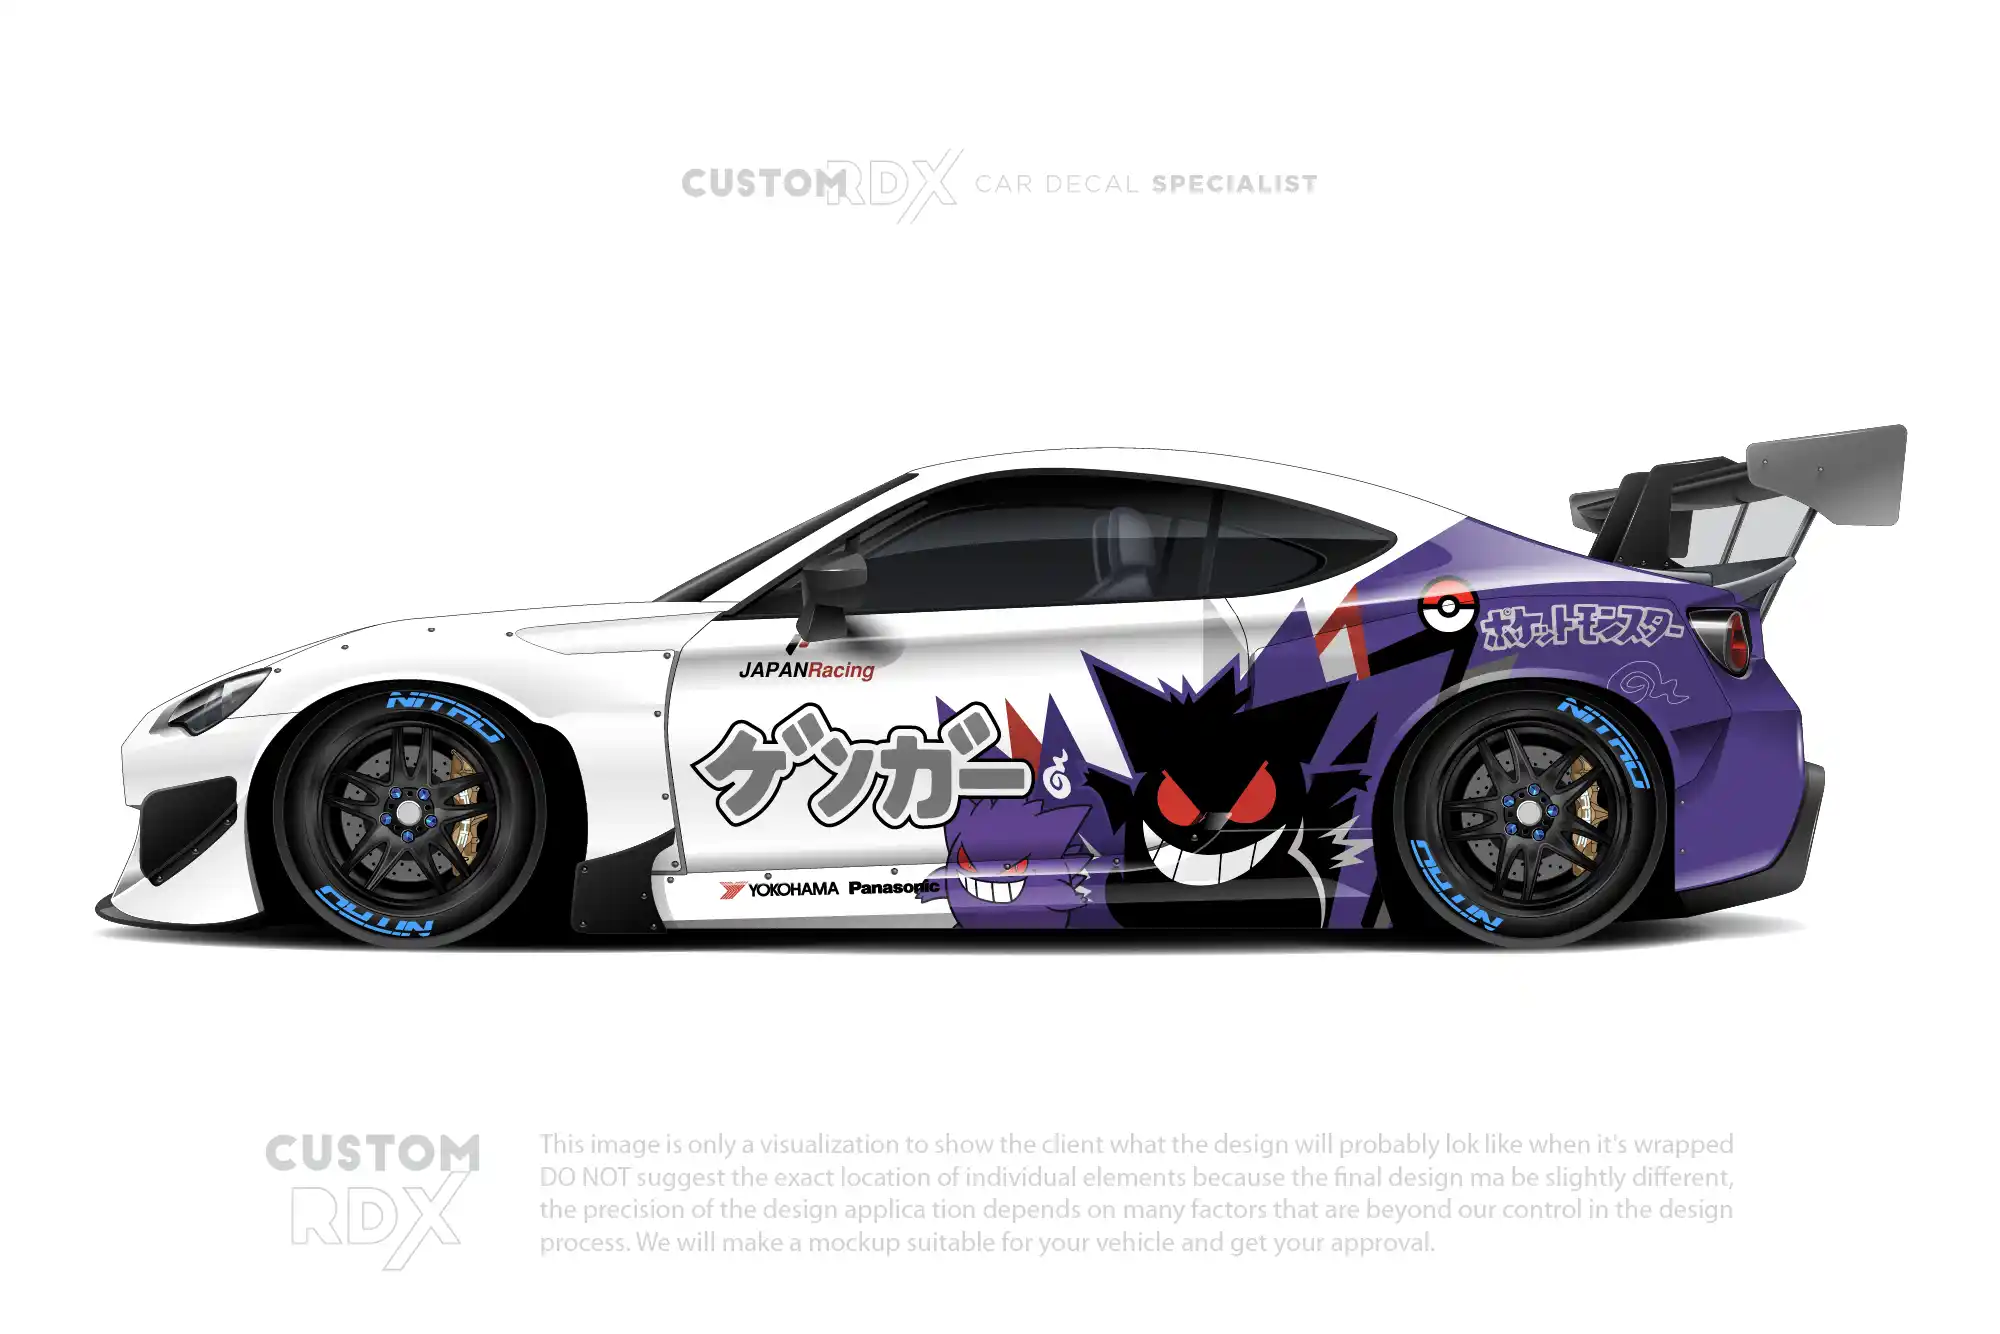
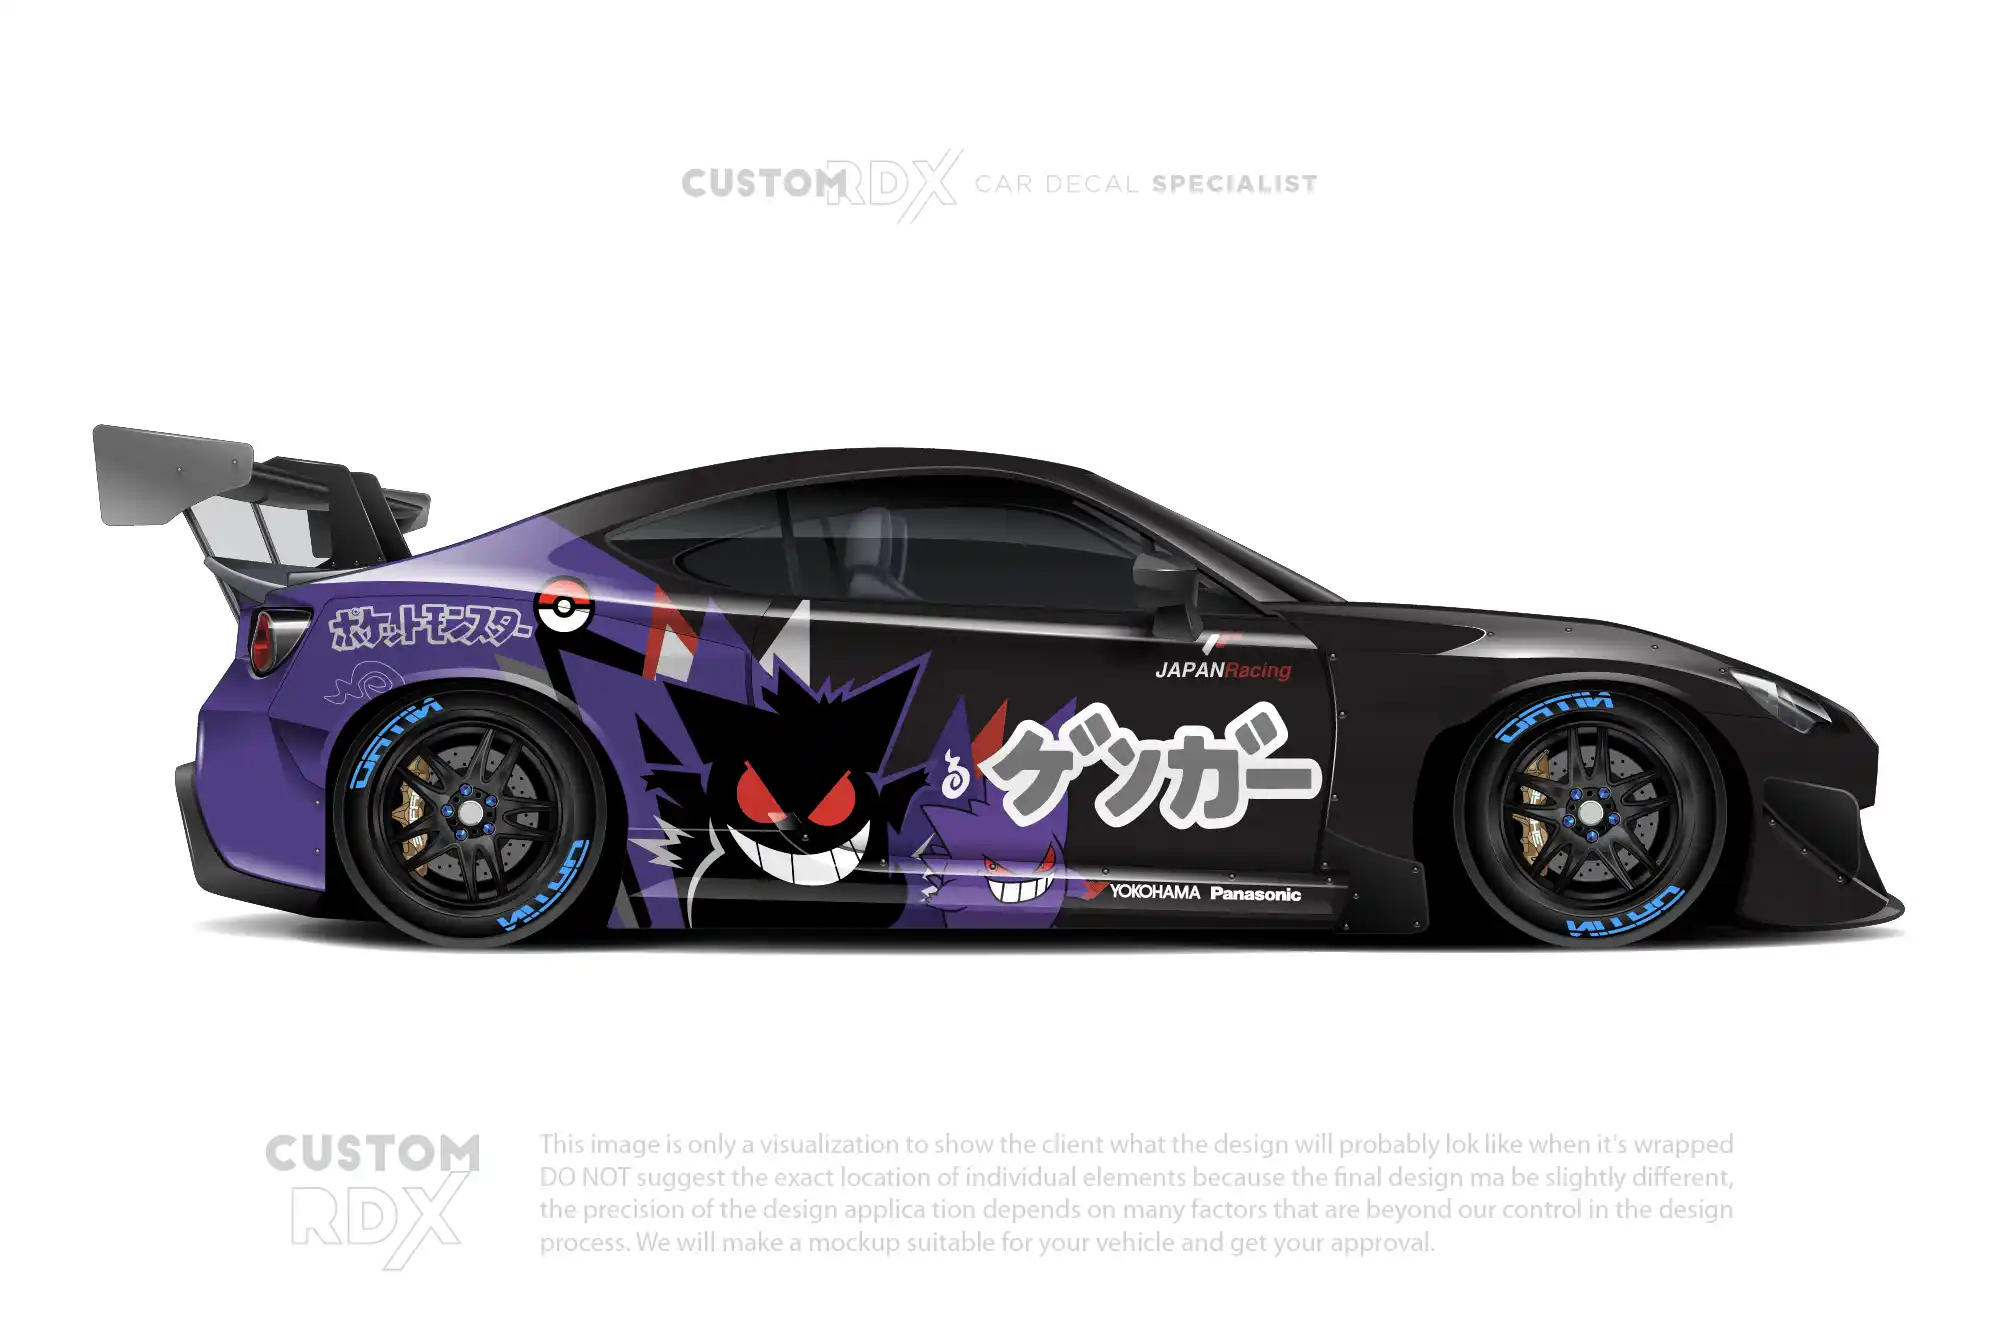
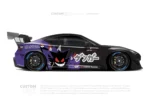
Pokemon Gengar- [PP 02]
$260,00 – $580,00
- Please leave a message with your vehicle information when checking out, We'll email the rendering within 24-36 hours after payment.
- Free shipping
- 30 Days - Free reissue
- 30% Off on Your Second Product!
Mockup Application to Your Car
1-3 Days
Payment Methods:
The Rise of Gengar Car Stickers
In recent years, custom car stickers have surged in popularity, and one standout design capturing the attention of Pokémon fans is the Gengar car sticker. These bold and mischievous decals, inspired by the iconic Ghost-type Pokémon, have become a must-have for Pokémon lovers looking to add a mysterious and eye-catching touch to their vehicles.Who is Gengar?
Gengar is one of the most well-known Pokémon, recognized for its mischievous grin, shadowy form, and ghostly abilities. As a Ghost/Poison-type Pokémon, Gengar is a fan-favorite due to its trickster personality and eerie charm. A Gengar car sticker captures this spooky yet playful essence, making it the perfect way for Pokémon trainers to showcase their love for the franchise on the road.Why Choose Gengar Car Stickers?
Car stickers are a fantastic way to personalize your vehicle and make a statement. Whether it’s a sinister Gengar smirk, a glowing shadowy form, or an action-packed ghostly pose, Gengar car stickers allow Pokémon fans to express their love for this legendary Pokémon in a cool and stylish way.These stickers don’t just add a spooky and unique look but also reflect the playful yet mysterious nature of Pokémon trainers. Whether you're cruising through the city or showing off at a Pokémon-themed event, a Gengar car sticker ensures your ride stands out with a hauntingly awesome presence.How to Apply a Gengar Car Sticker
Applying your Gengar car sticker is simple with these easy steps:Clean the Surface – Wash and dry the area where the sticker will be applied to remove dirt, grease, or dust. Position the Sticker – Peel off the backing and carefully place the sticker in your desired location. Use masking tape to help with proper alignment. Smooth It Out – Use a squeegee or credit card to press out air bubbles and ensure firm adhesion. Remove the Transfer Tape – Slowly peel off the transfer tape, making sure the sticker stays in place. Let it Set – Allow at least 24 hours for the sticker to fully bond before washing your car or exposing it to extreme weather.Unleash the Shadow with Gengar Car Stickers!
No matter your car type or style, a Gengar sticker is the perfect way to give your ride a bold, ghostly, and mischievous look. Whether you’re a lifelong Pokémon fan or just love Gengar’s spooky charm, these stickers help you express your passion while making your car truly unique.Are you ready to haunt the streets with Gengar? Browse Gengar car stickers today and bring some Pokémon magic to your ride! ✨Differences Between Air-Release and Non-Air-Release Vinyl
Air-Release Vinyl:
Prevents Air Bubbles on the Surface:Air-release vinyl has small air channels on its adhesive side. These channels help release any trapped air during application, preventing air bubbles and ensuring a smooth surface.
Easier Application: Especially for large surfaces, it provides ease of application. You don’t need to worry about popping air bubbles, which allows for a faster and more professional finish.
Reduced Error Margin: The air channels help the vinyl adhere better to the surface, reducing the risk of mistakes during installation and giving you a flawless result.
Non-Air-Release Vinyl:
Economical Choice: It is generally more affordable. If you are looking for a budget-friendly solution, non-air-release vinyl might be ideal.
Requires Extra Care for Air Bubbles: When using non-air-release vinyl, you need to be more careful to prevent air bubbles during application. This makes the process a bit longer and more meticulous.
How to Apply Vinyl?
Surface Preparation:
Before starting the application, thoroughly clean the surface of your vehicle. Make sure there is no dust, dirt, or grease. Use alcohol-based cleaners for a deep clean. A clean surface ensures better adhesion and longevity of the vinyl.Position the Vinyl:
Place the vinyl on the surface you want to cover and check its positioning. If you are using air-release vinyl, you don't need to worry about air bubbles. For non-air-release vinyl, be extra cautious at this stage. Place the vinyl flat and taut on the surface.Application:
Once positioned, use a plastic squeegee or a soft blade, starting from the center and working outwards. This motion helps push the air out from under the vinyl. For non-air-release vinyl, move slowly with small strokes to avoid air bubbles.Attention to Edges and Corners:
While applying to edges and corners, ensure the vinyl is securely attached. If needed, use a hairdryer or heat gun to gently heat the vinyl, making it more pliable and easier to fit around curves and corners.Final Touches:
After the application, check the surface for any remaining air bubbles. If using air-release vinyl, gently press them out with your fingers. For non-air-release vinyl, use a needle or a very fine blade to create small holes and release the trapped air.Post-Application:
Allow the vinyl to settle for a few days to ensure full adhesion. During this time, check to ensure that no edges are lifting and that the vinyl is securely attached.
By following these steps, you can achieve a successful vinyl wrap application and give your vehicle a completely new look!
Customer Reviews
Related Products
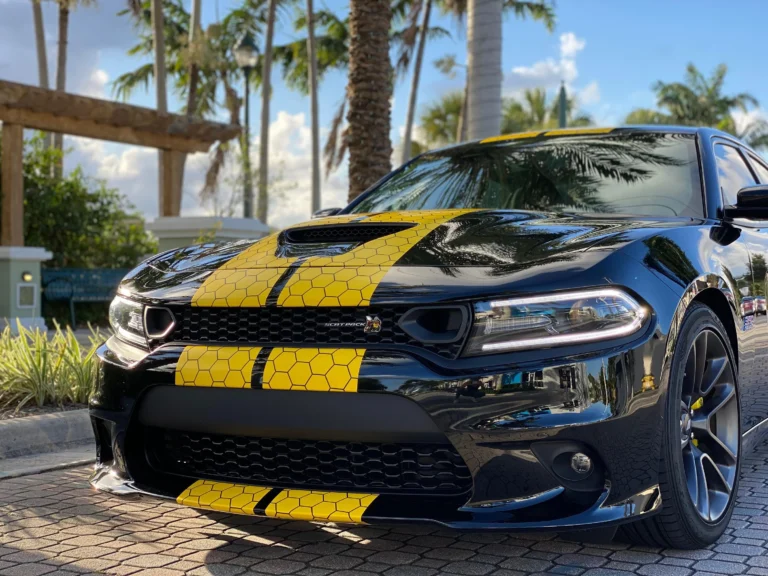
Honey Comb RACING Stripes Dual 10″ – [HC 01]
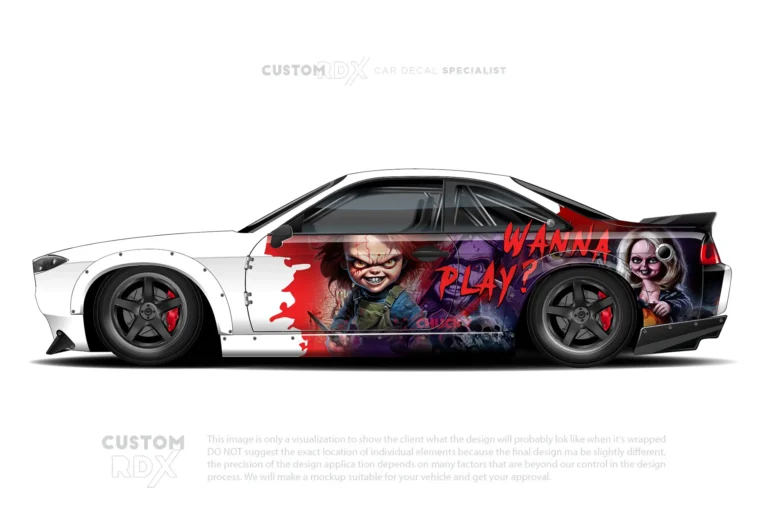
Chucky Wanna Play?- [CHY 02]
Pennywise – [IT 02]
Deadpool Duble – [DP 05]




Reviews
Clear filtersThere are no reviews yet.